Kevin Keogh's instructions on how to cut standard sized A4 mounts can be downloaded from the link above.
But what if your prints are an odd size and need a custom sized mount cut?
Have a look at my personal website to see how to do this. Here's the link to use.
https://timsfotos.com/techniques
and click on the Custom Mount Cutting (non A4 sizes) button.
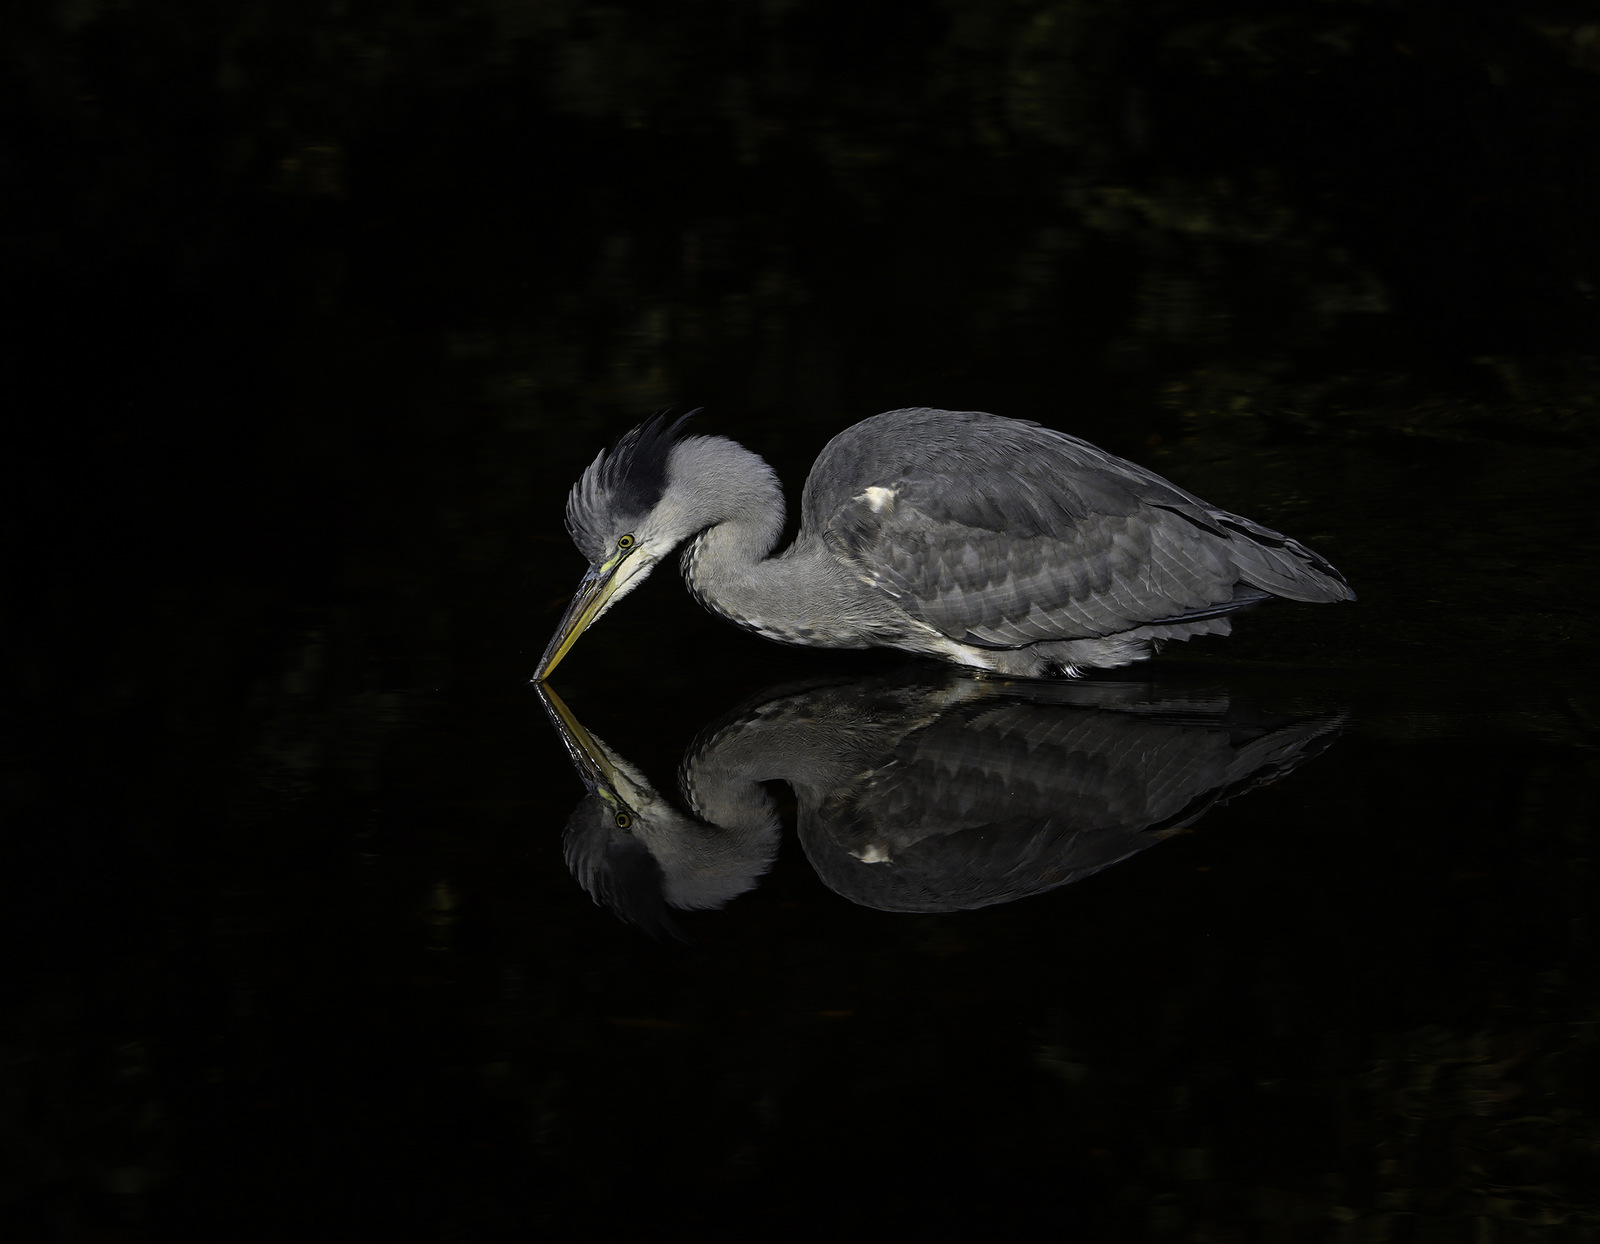
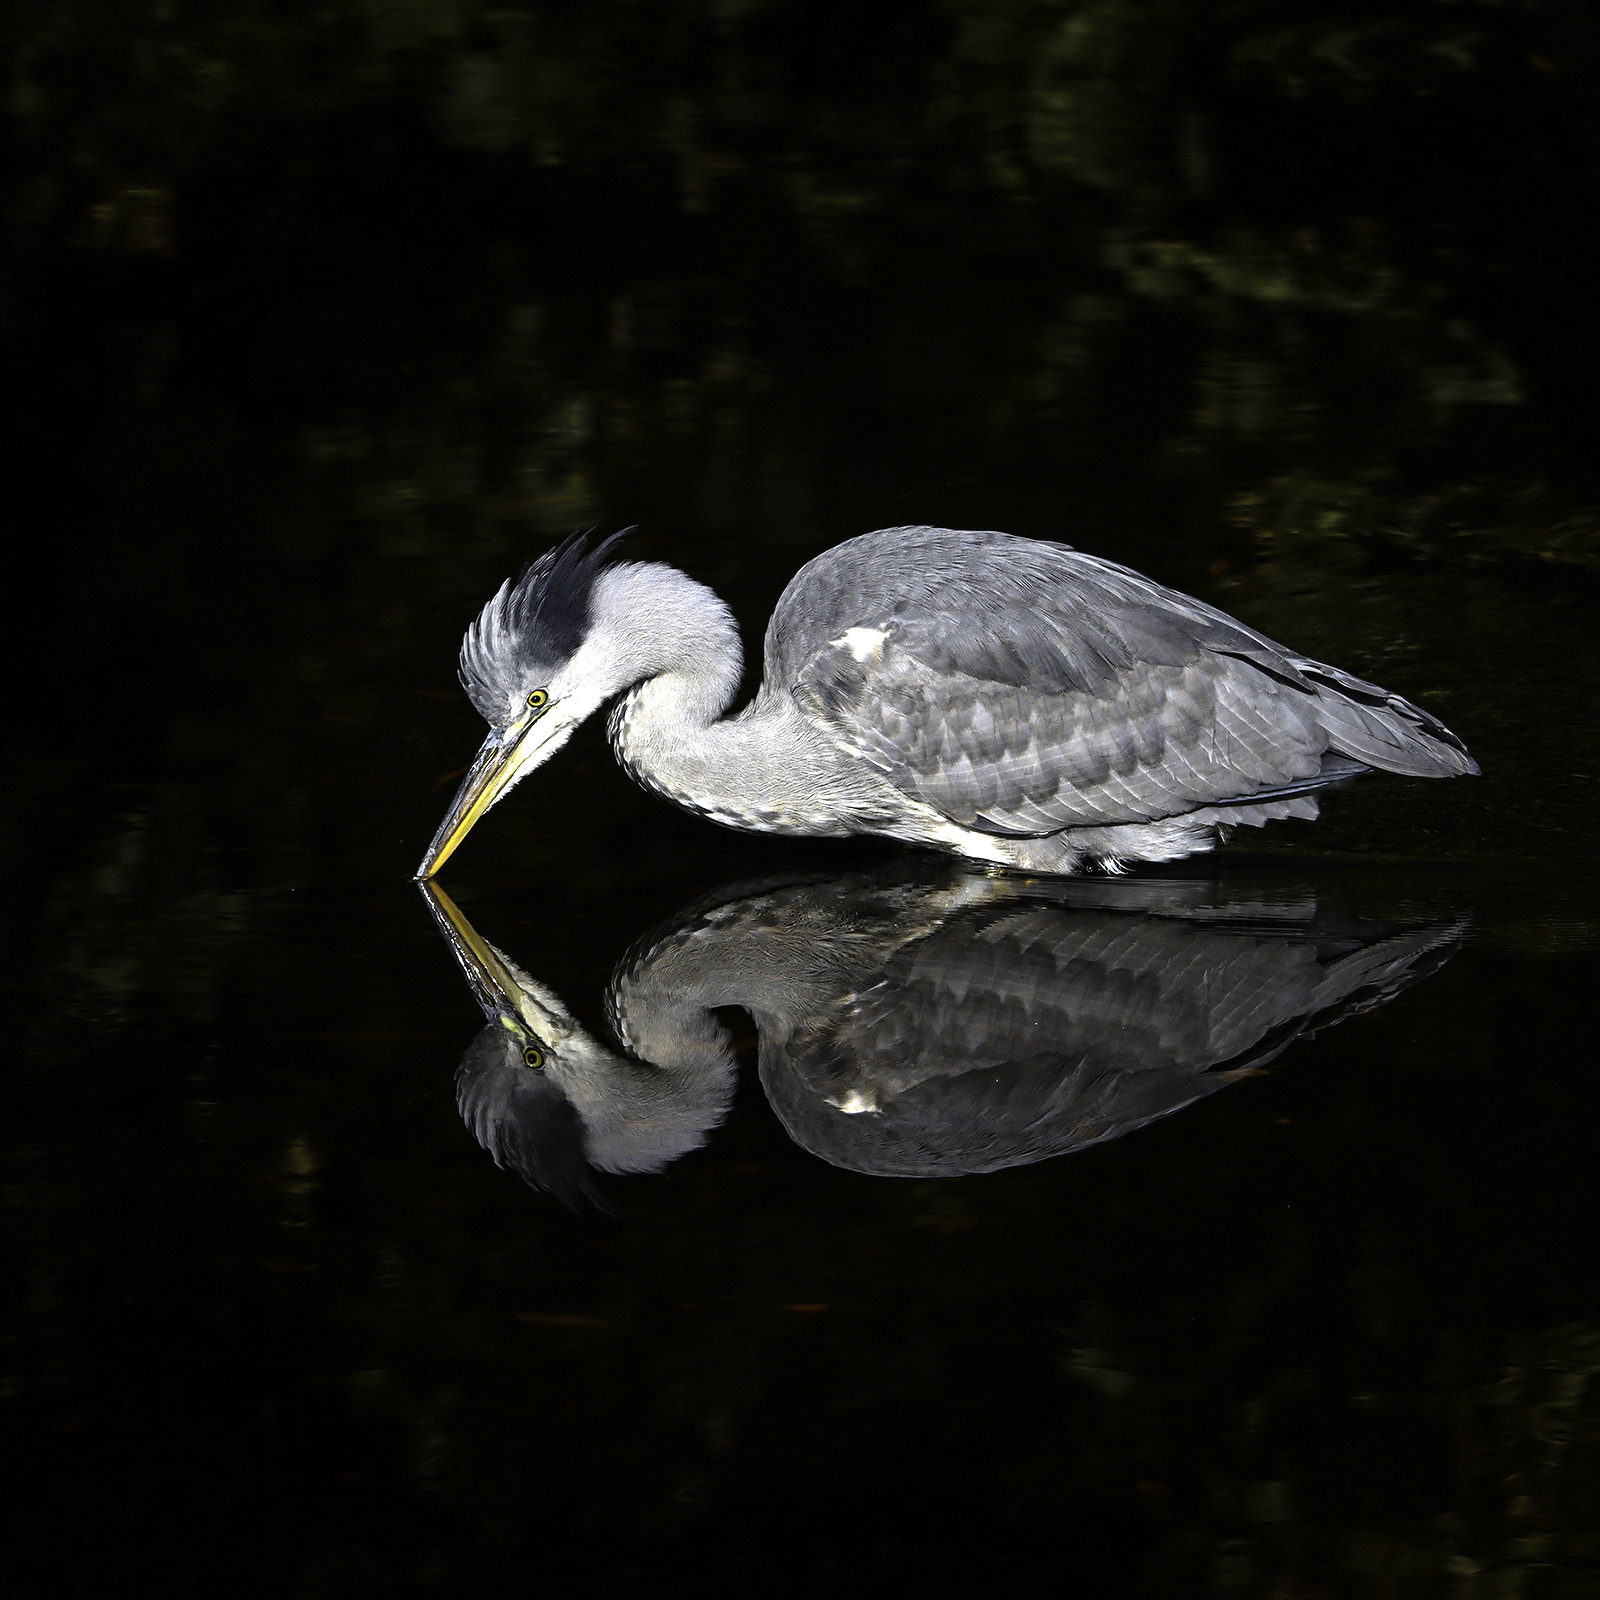
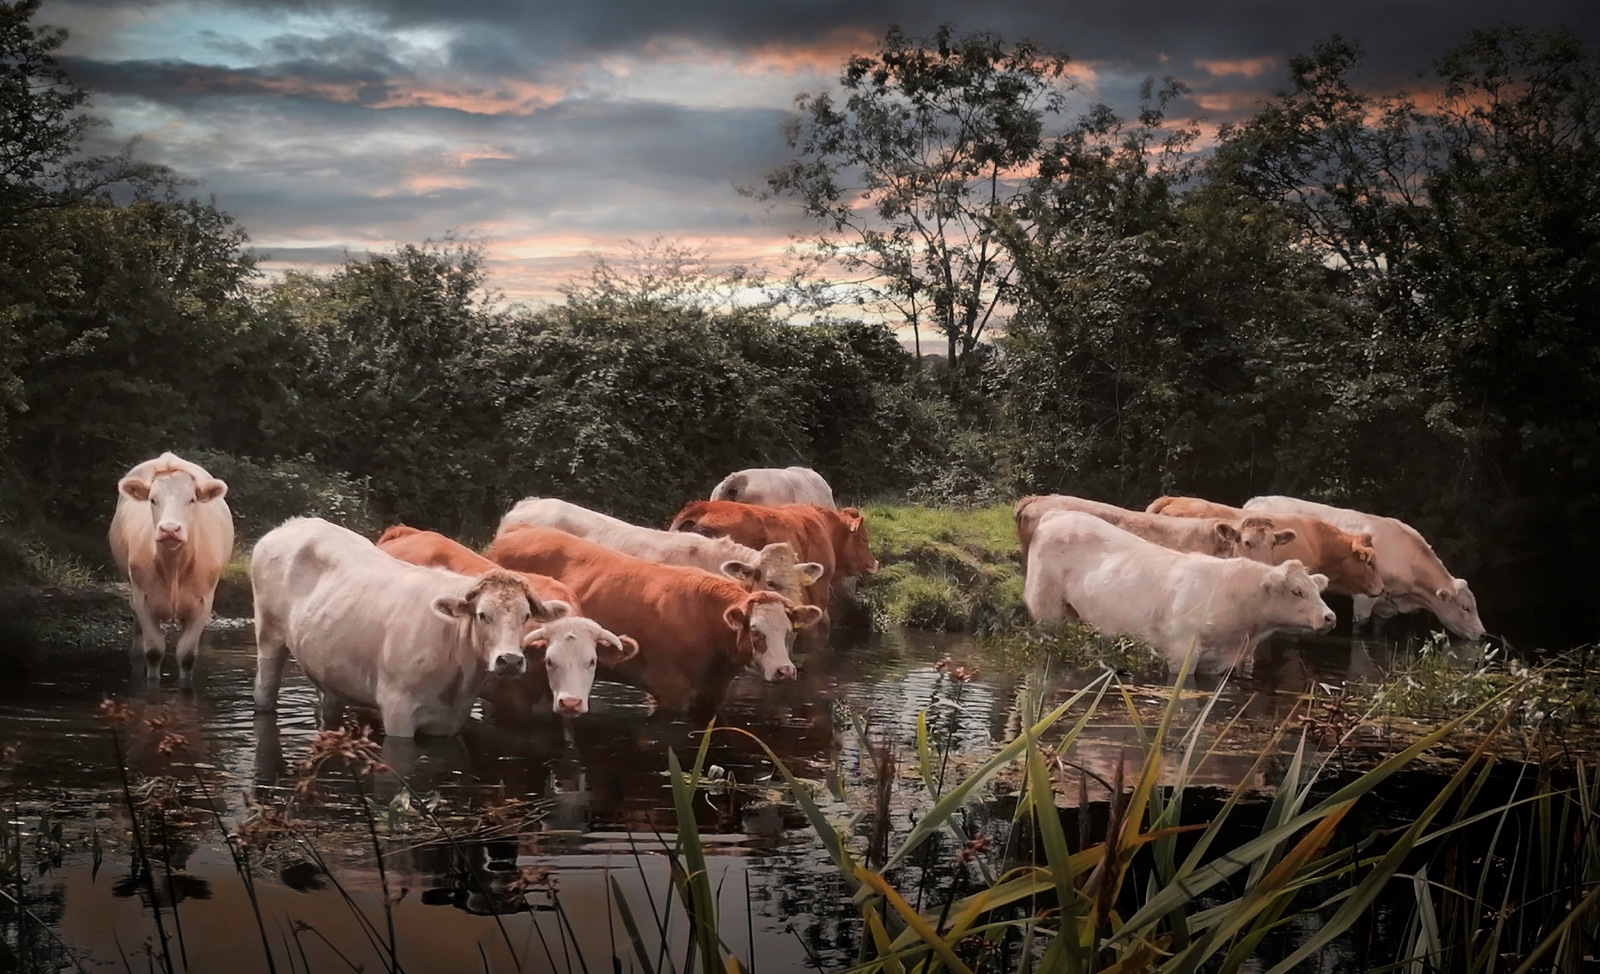
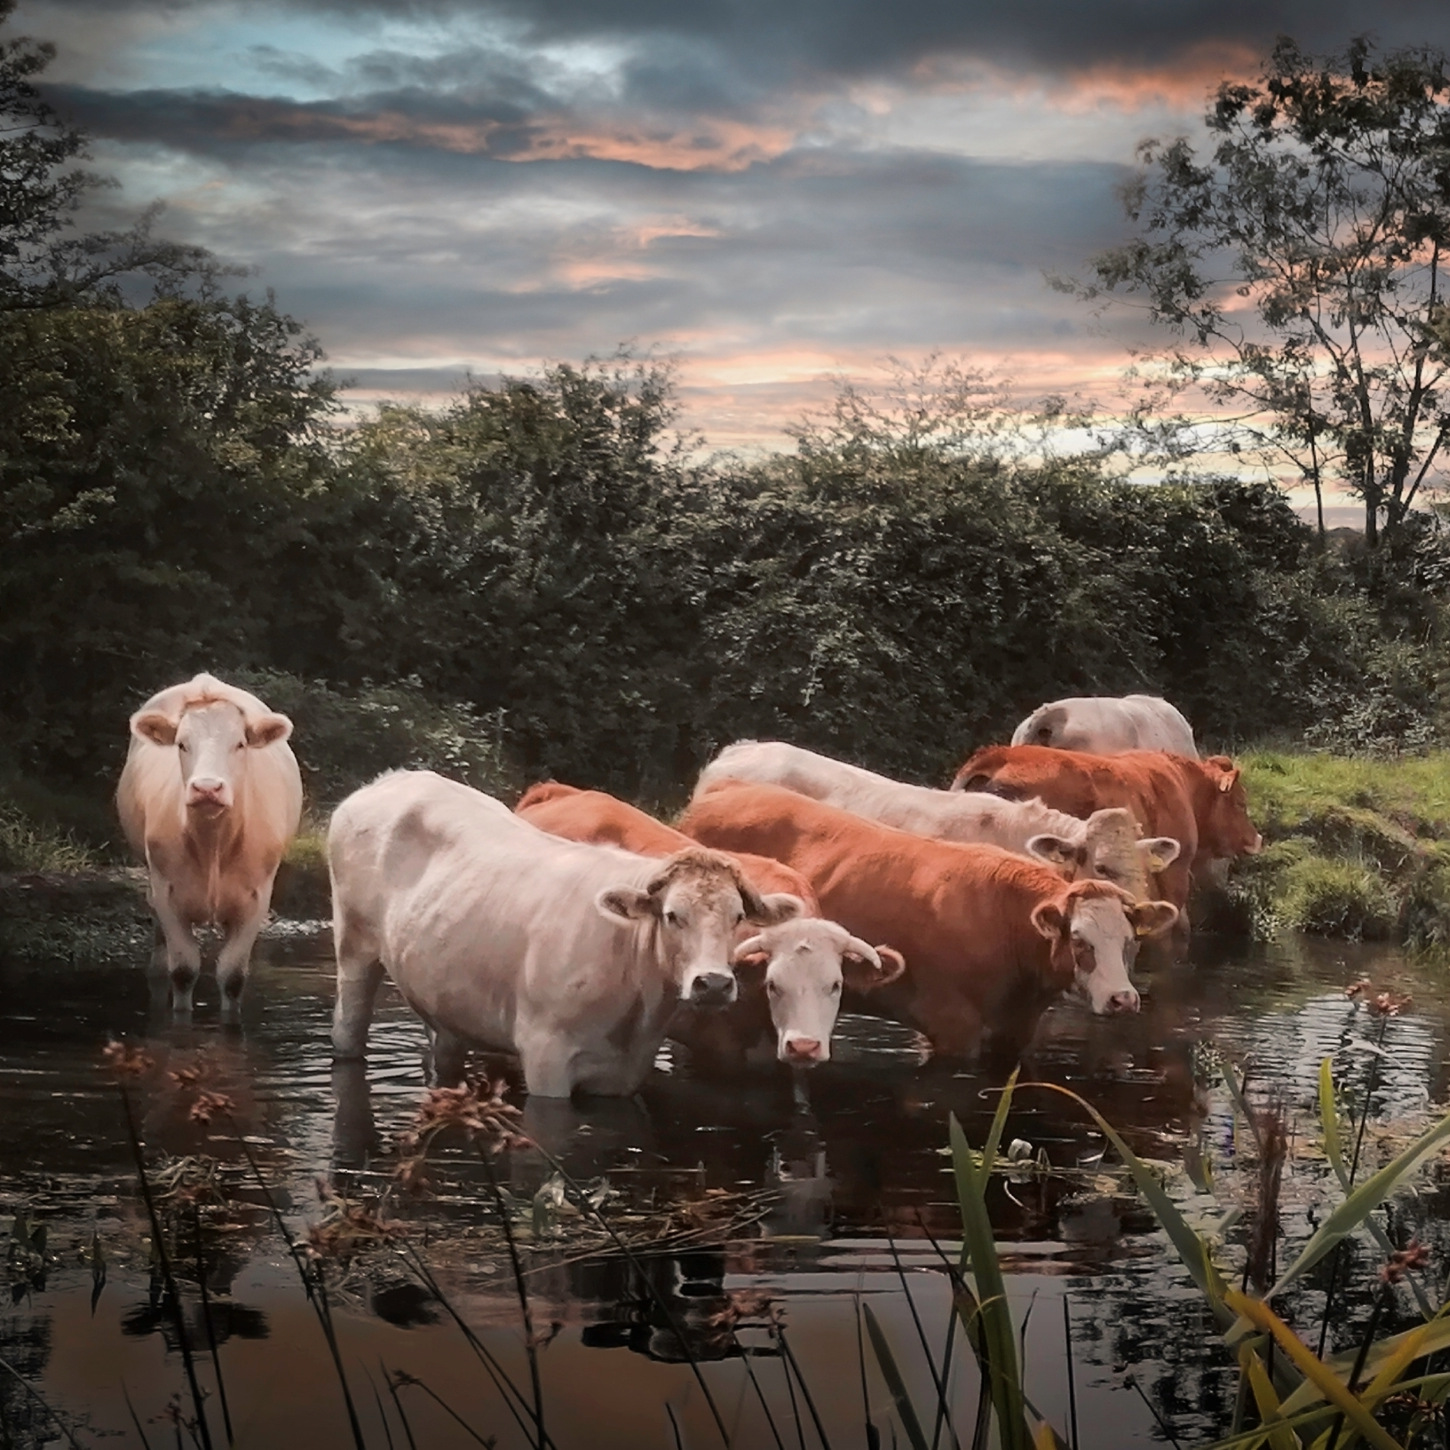
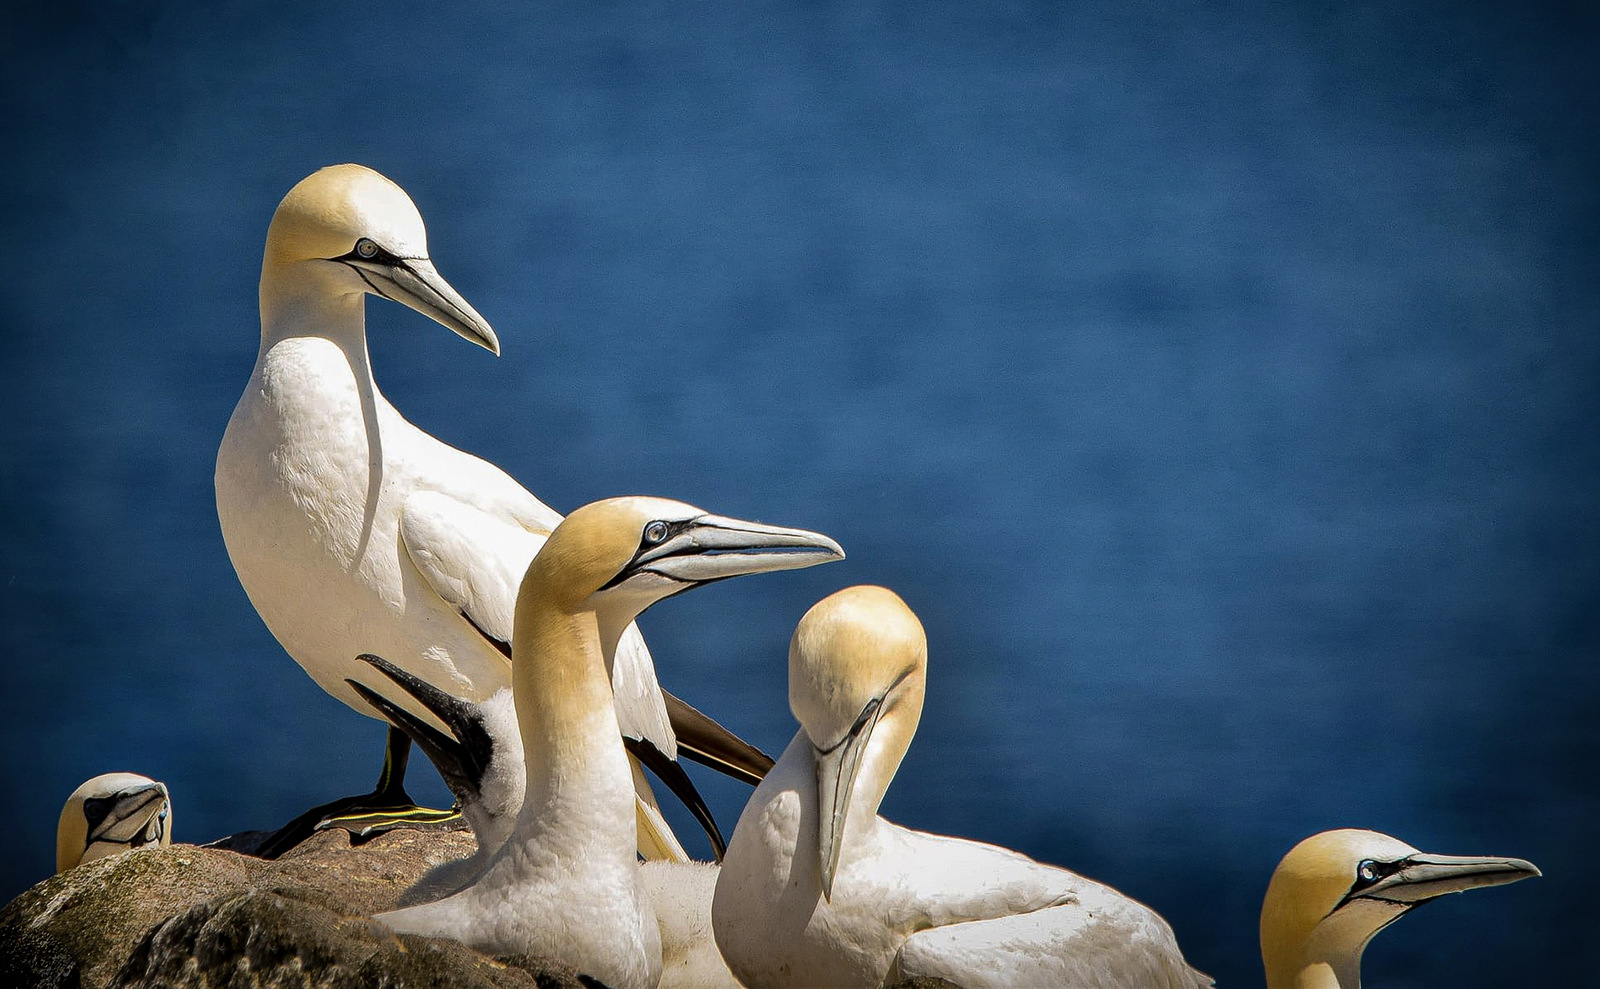
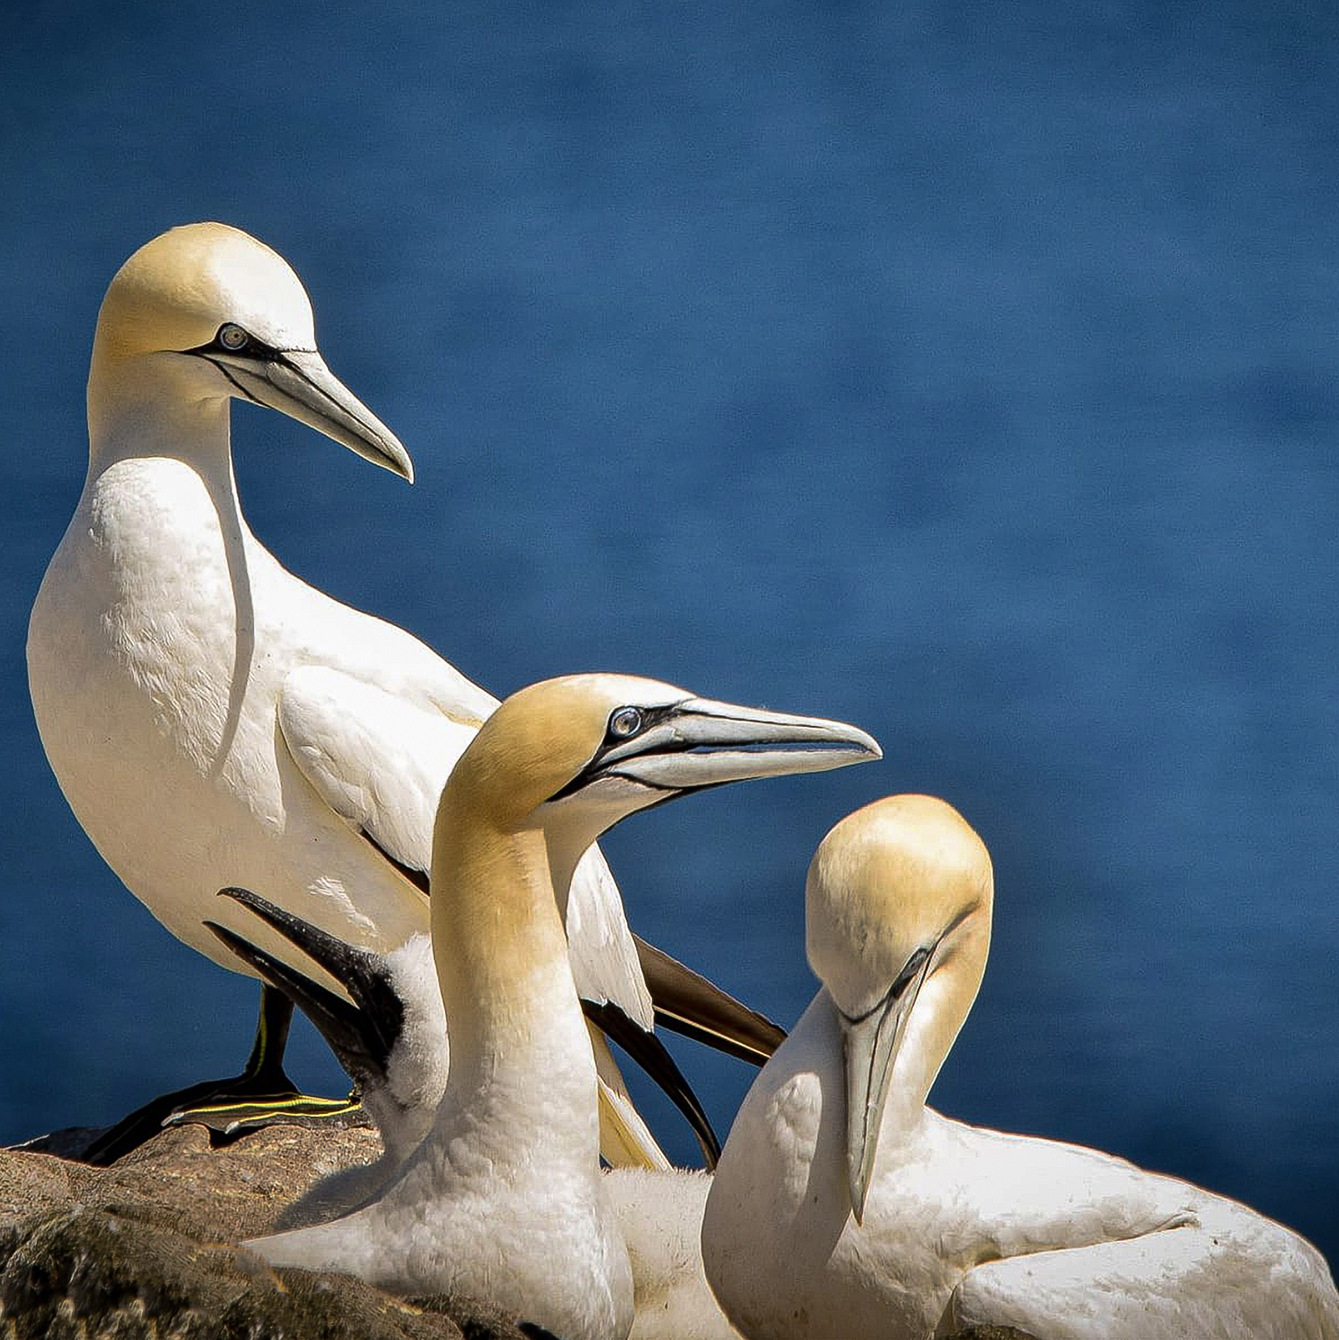
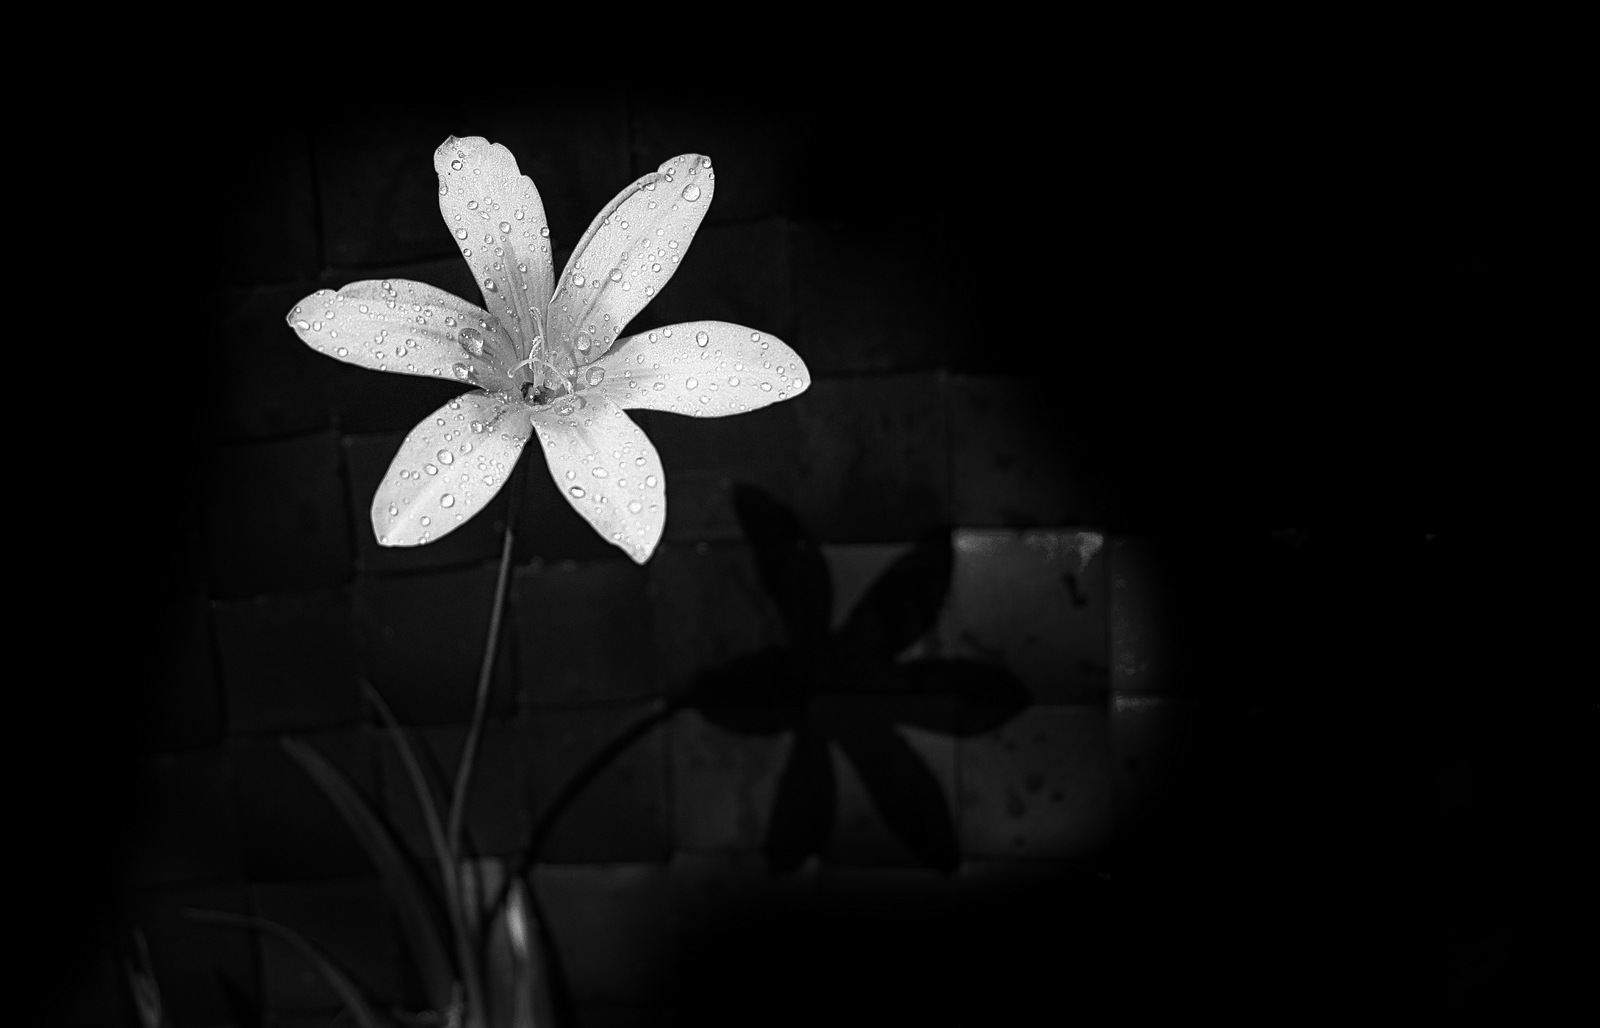
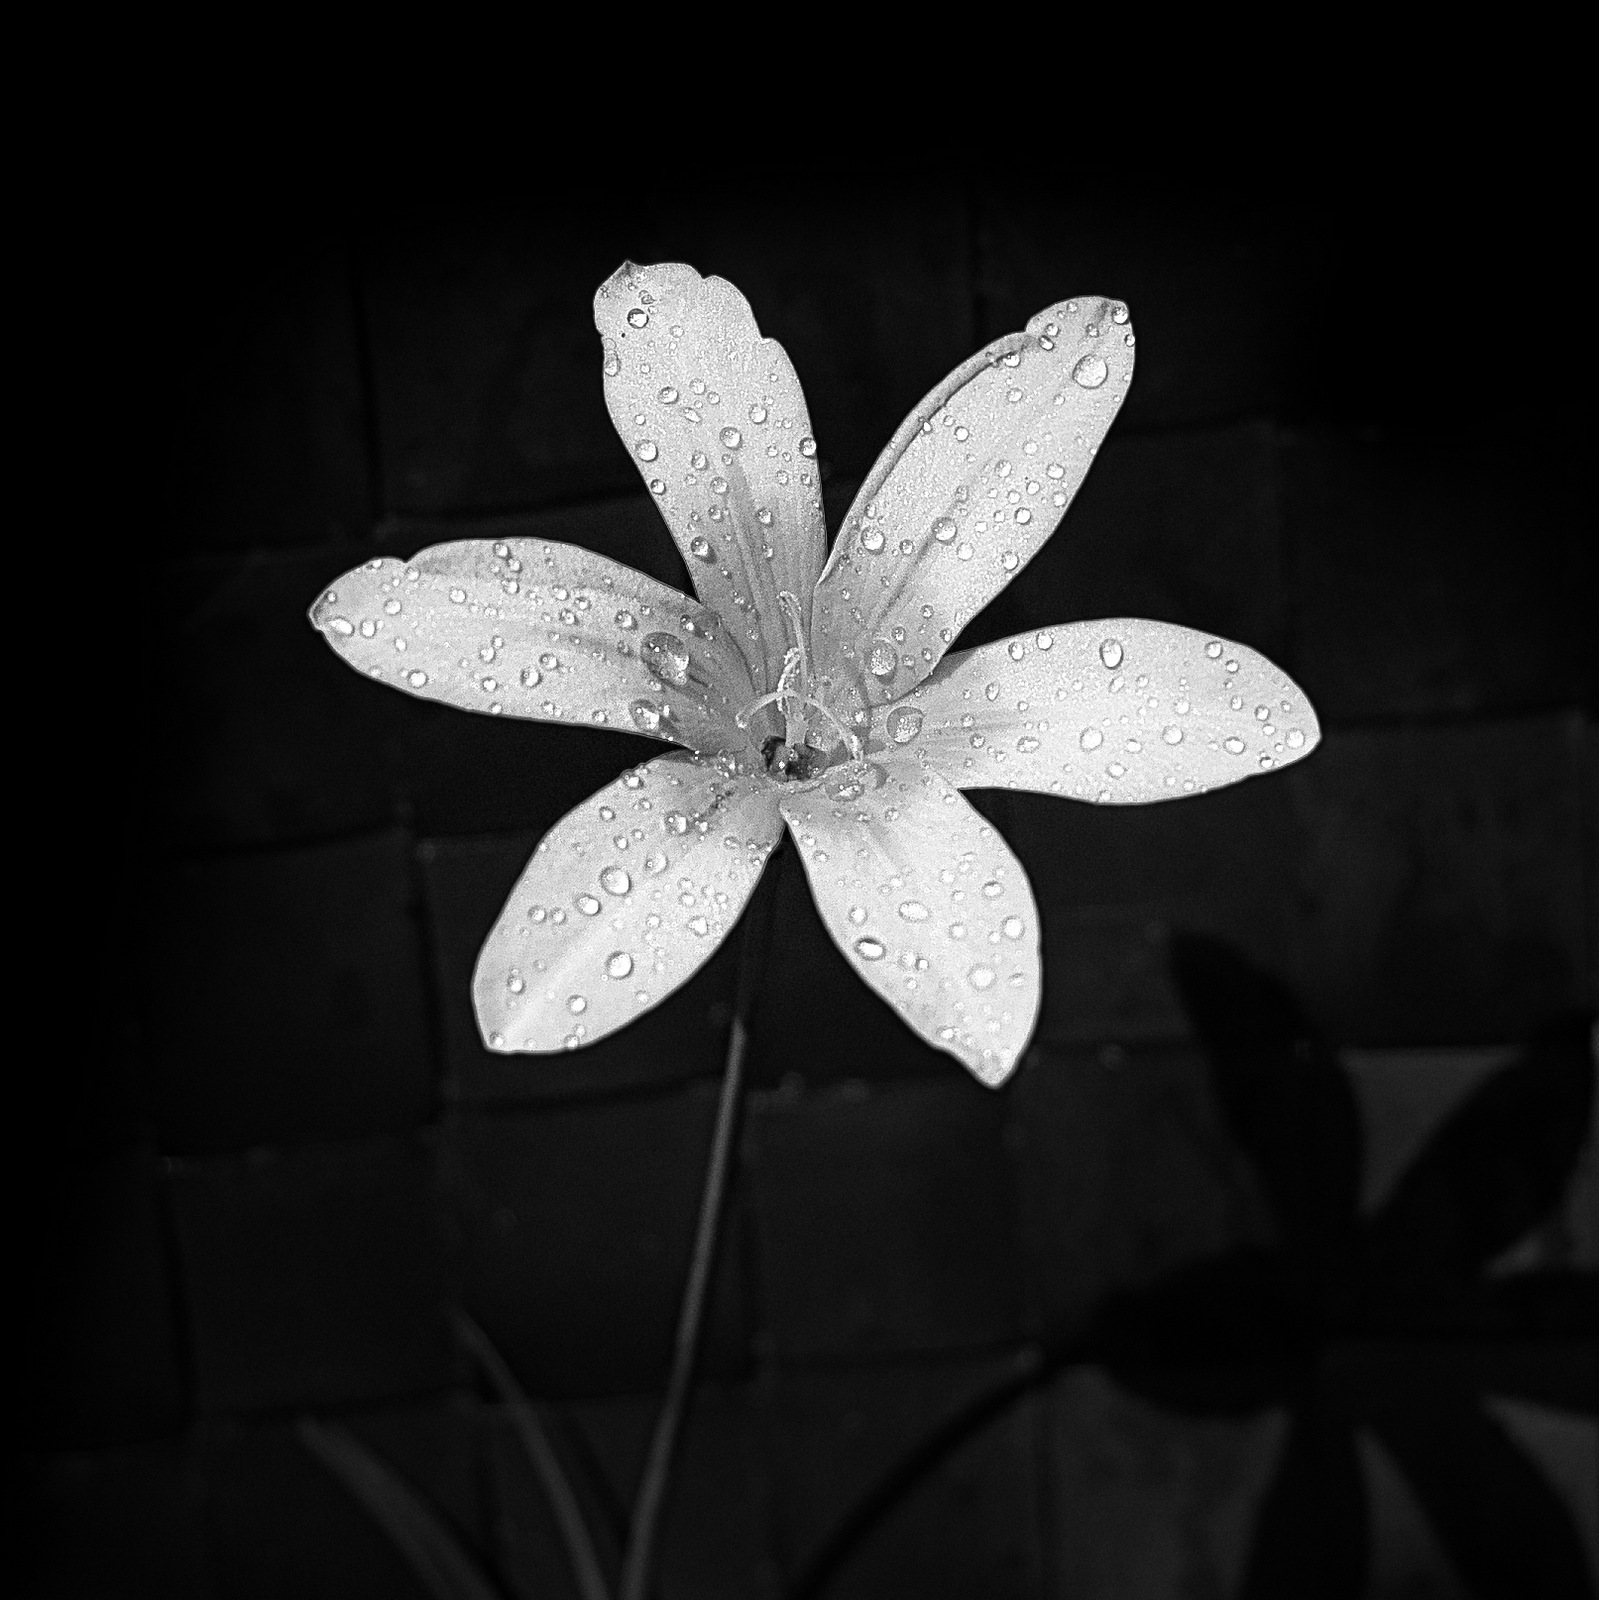
When we look through the viewfinder or at the LCD screen, the image is normally presented in a Landscape (horizontal) format and with a 3:2 ratio, inherited from the old film negatives which measured 36mm wide by 24mm high (which gives the ratio of 3:2). This 3:2 ratio doesn't have to be used, as the technique of cropping allows us to change that ratio to one more suited to the particular image. In the examples below you can see the original 3:2 ratio, which I have changed to a square 1:1 ratio. Thanks to Gillian, Liz, Louise and Dominic for the use of their images to demonstrate the way cropping an image can change how it looks. Similarly the use of letterbox or panoramic cropping can change the way an image looks.
